Hardwood is unquestionably a valuable addition to the house. However, cleaning it can be intimidating, especially you are not aware of the type of finish that has been used. A mistake can easily result in damaging the finish, and destroying the great looks of your wood floors. Below, are some tips and cleaning steps that will help you sigh a sign of relief!
Step #1: Vacuum
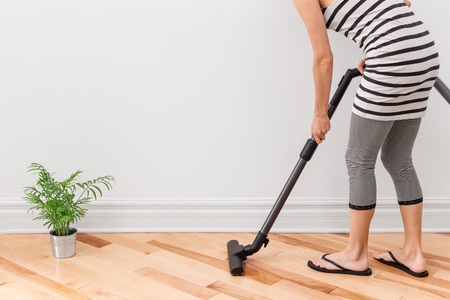
Vacuum the floor (make sure the bristles are extended). What you need is to leave the floor only with dust. Use a soft-bristled broom and sweep the wood floor to remove grit, sand, and other large particles that could scratch the floor (you may catch them beneath the mop).
Step #2: Determine the type of hardwood floor
You need to determine the exact kind of hardwood finish you have. If your boards have beveled edges, then you probably have prefinished floors. Now, if the surface is not that glossy, you most likely have unfinished or stained floor. The most difficult part is when you have shiny floors, and you must tell them apart.
Try moistening steel wool (extra fine) and rub it on an area (better be an inconspicuous one) to test for wax. If you see a greyish smudge on the wool, then your floors have a wax finish.
Pour some water on the area that is most used and check after several minutes. If the drops remain beaded, then you most likely have a modern surface seal. If you see it darken the wood or soak, you need to handle your floors very gently, because they are either poorly-finished or have an older seal.
That said, the majority of new floors have stain- and water-resistance properties and are surface-sealed with polyacrylic, urethane or polyurethane coating, which makes them easy to clean. Now, if your floors are older and haven’t been refinished, they must have a varnish, lacquer, or shellac finish, which are -technically- surface seals but can’t compete for the durability of modern finishes, so we list them alongside waxed, unfinished, and prefinished floors.
Tip: Always go for a gentler and milder approach, when you are in doubt. A damaged hardwood floor cannot be repaired easily (if at all, in some cases). Also note that you need to vacuum and/or sweep the floor regularly, but clean it only when it really needs it, to make sure it will last longer.
Step #3: Choosing the Cleaning Agent
It has to be the right one. For modern, site-finished wood floors, choose a gentle, water-based cleaning agent with neutral PH (i.e. one designed for acrylic-polish, vinyl floors).
If you want to get rid of dirt and grime, go for an alkaline cleaner (always water-based). Also, some baking soda and soaps dissolved in water are excellent options.
Finally, to dissolve mineral deposits and hard water marks, better pick an acidic cleaner (water-based). Refer to your local home-supply store for additional information on specific wood floor cleaning agents.
Notes: Be careful when using alkaline solutions and not overdo as they dull the finish over time. Also, NEVER use ammonia, bleach, abrasive cleaners or any product that leaves a residue, such as wax, furniture spray, or oil, unless you want to void the warranty of your floor and, of course, damage it.
Step #4: Start Cleaning
Before you do anything else, first consider the finish of the floor. If it is a superficial stain, then your floor has a hard finish. If the stain seems to have penetrated into the wood, then your floor hasn’t been resealed or refinished for quite a while, or it has a soft oiled finish. It is important to note that you should never use any harsh chemical, sandpaper or steel wool to clean such surfaces because you may end up with a permanently damaged finish. To remove dark spots and heel marks, rub them with floor wax and No. 000 steel wool, and rinse with a cloth (damp). For oil-based stains, rub the affected area with a soft cloth that you will have dipped in water and dishwashing detergent. This will help break down the grease. Then rinse with water and allow to dry. Finally, smooth the grain with sandpaper (fine).
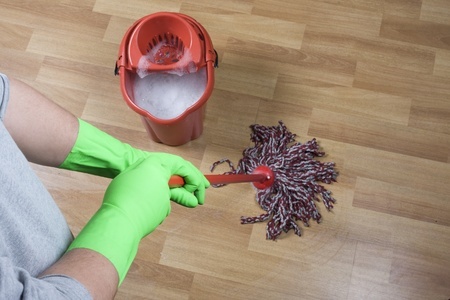
For hard finish floors, dilute the cleaner you have chosen in a some water (if you can use distilled water, the better). Take off your shoes and mop the floor, making sure you run your mop over the floor with the grain of the wood. For tough areas, use a cloth dipped in the cleaning solution and spot-clean them. Dry the floor as much as possible (and as fast as you can) by rubbing the mop over it because although modern floors are water-resistant, it is best not to leave them wet for long.
Once you are done, refill the bucket with clean water and rinse the floors with the mop to remove any dullness or streaky traces of your cleaning agent.
Now, for other hardwood floors (see above) fill a bucket with water, dust the floor, and run a mop over it, always with the grain of the wood. For stubborn stains (i.e. white water spots), take a cloth and a touch of mineral spirits (odorless) and spot-clean the floor. Note that mineral spirits should not be used often because they are too strong. Also, you should always spot-test them first on an inconspicuous area. Finally, either allow the floor to evaporate on its own or buff it dry with a cloth (you will get a lovely sheen that way!).
How to Deal with Scratches
First of all, don’t panic. A scratch in the wood floor can be repaired quite easily and effortlessly. Go to your local hardwood store and buy a wood repair kit, making sure it matches your hardwood, as well as some wax. In the kit, you will find some paint to repair the damage (always apply it along the grain of the wood). Let it dry and then apply the wax. You know you are done when the wax matches the smoothness of the other boards on the floors.
Extra Notes:
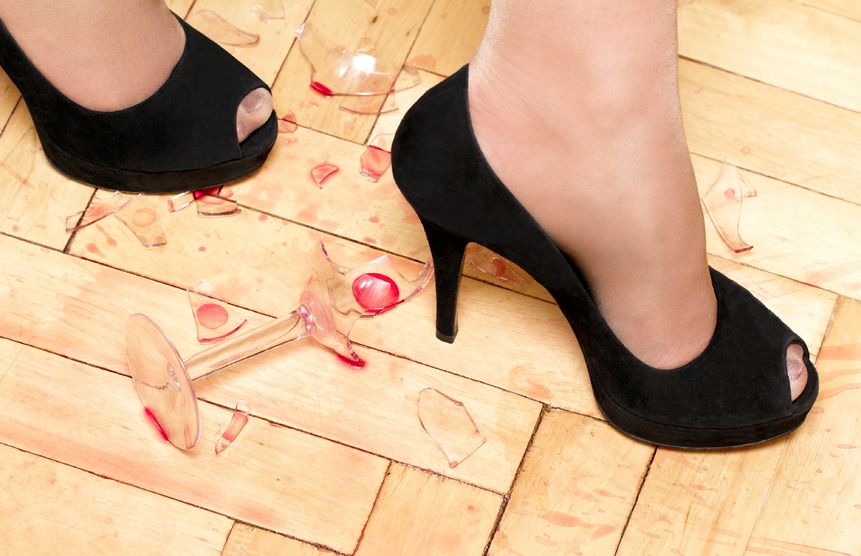
1. Use runners over the flooring, especially in the areas with the heaviest foot traffic, to protect your floor from getting dents from heavy shoes and high heels, among others.
2. Keep your hardwood shiny and radiant. Ask a specialist whether you need to buff or wax your floors. Always wax and buff in a circular motion and allow to rest for at least 30 minutes before you walk on the floor.